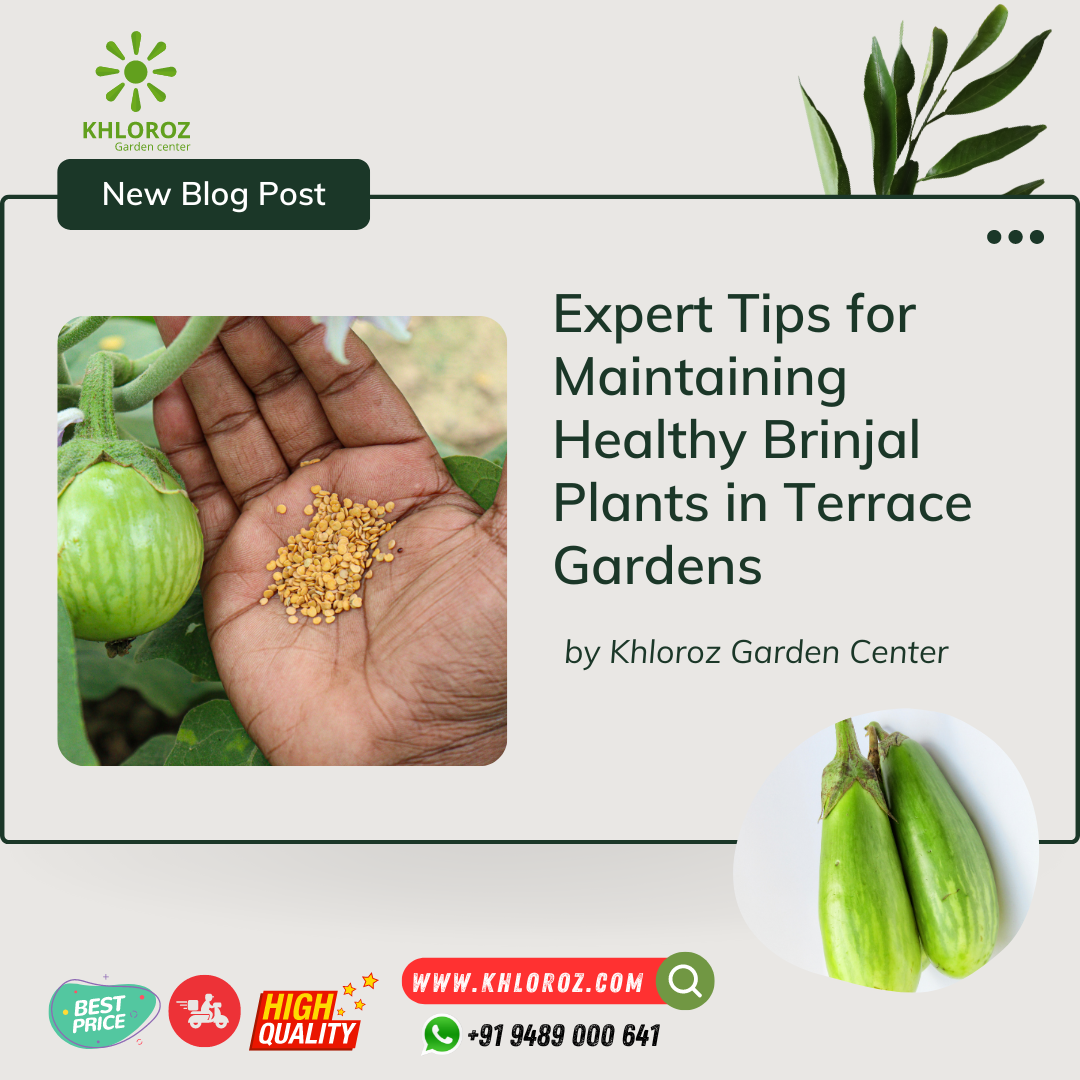
Expert Tips for Maintaining Healthy Brinjal Plants in Terrace Gardens
Brinjal, also known as eggplant or aubergine, is a popular vegetable that can be easily grown in terrace gardens. With a little care and attention, you can grow healthy brinjal plants and enjoy fresh, flavorful brinjals throughout the growing season. In this blog post, we will share some expert tips for maintaining healthy brinjal plants in your terrace garden.
- Choose the Right Variety of Brinjal The first step to growing healthy brinjal plants is to choose the right variety. Some brinjal varieties are better suited for growing in terrace gardens than others. Look for varieties that are compact and bushy, rather than tall and sprawling. Some good options for terrace gardens include Dwarf, Pusa Purple Long etc. Khloroz Garden Center’s Brinjal Seeds are best for beginners as the Germination are very good. Khloroz Garden Center’s Brinjal Seeds are tested for its germination and Quality. Khloroz Have also collection of Heirloom seeds under Brinjal.
- Provide Adequate Sunlight Brinjal plants require plenty of sunlight to grow and produce fruit. Choose a sunny spot in your terrace garden that receives at least 6 hours of direct sunlight per day. If your terrace garden is partially shaded, consider using reflective surfaces to redirect sunlight towards your brinjal plants.
- Use Nutrient-Rich Soil Brinjal plants require well-draining soil that is rich in nutrients. Use a high-quality potting mix that contains organic matter, such as compost or vermicompost. You can make your own potting mix by combining equal parts of garden soil, compost, and sand. Alternatively you can use Khloroz Garden center’s Potting mix for starting. It is blend of Cocopeat (Low-EC), Red earth, Decomposed Manure added with Biofertilizers and Vermicompost.
- Water Regularly and Consistently Brinjal plants require regular and consistent watering to stay healthy and produce fruit. Water your plants deeply once or twice a week, depending on the weather and soil conditions. Avoid overwatering or underwatering, as this can lead to root rot or nutrient deficiencies.
- Fertilize Regularly Brinjal plants require regular fertilization to stay healthy and produce fruit. Use a balanced fertilizer that contains equal parts of nitrogen, phosphorus, and potassium. You can also use organic fertilizers, such as bone meal or fish emulsion, to provide nutrients to your plants. You can also use Khloroz’s Plant nutrient Collections as well.
- Prune and Pinch Back To promote healthy growth and prevent overcrowding, prune and pinch back your brinjal plants regularly. Remove any yellow or wilted leaves, as well as any suckers or shoots that emerge from the base of the plant. This will help to improve air circulation and prevent the spread of diseases.
In conclusion, growing healthy brinjal plants in terrace gardens requires some attention and care. By following these expert tips, you can ensure that your brinjal plants thrive and produce a bountiful harvest. With a little effort, you can enjoy fresh, flavorful brinjals throughout the growing season and add a delicious and nutritious vegetable to your meals.
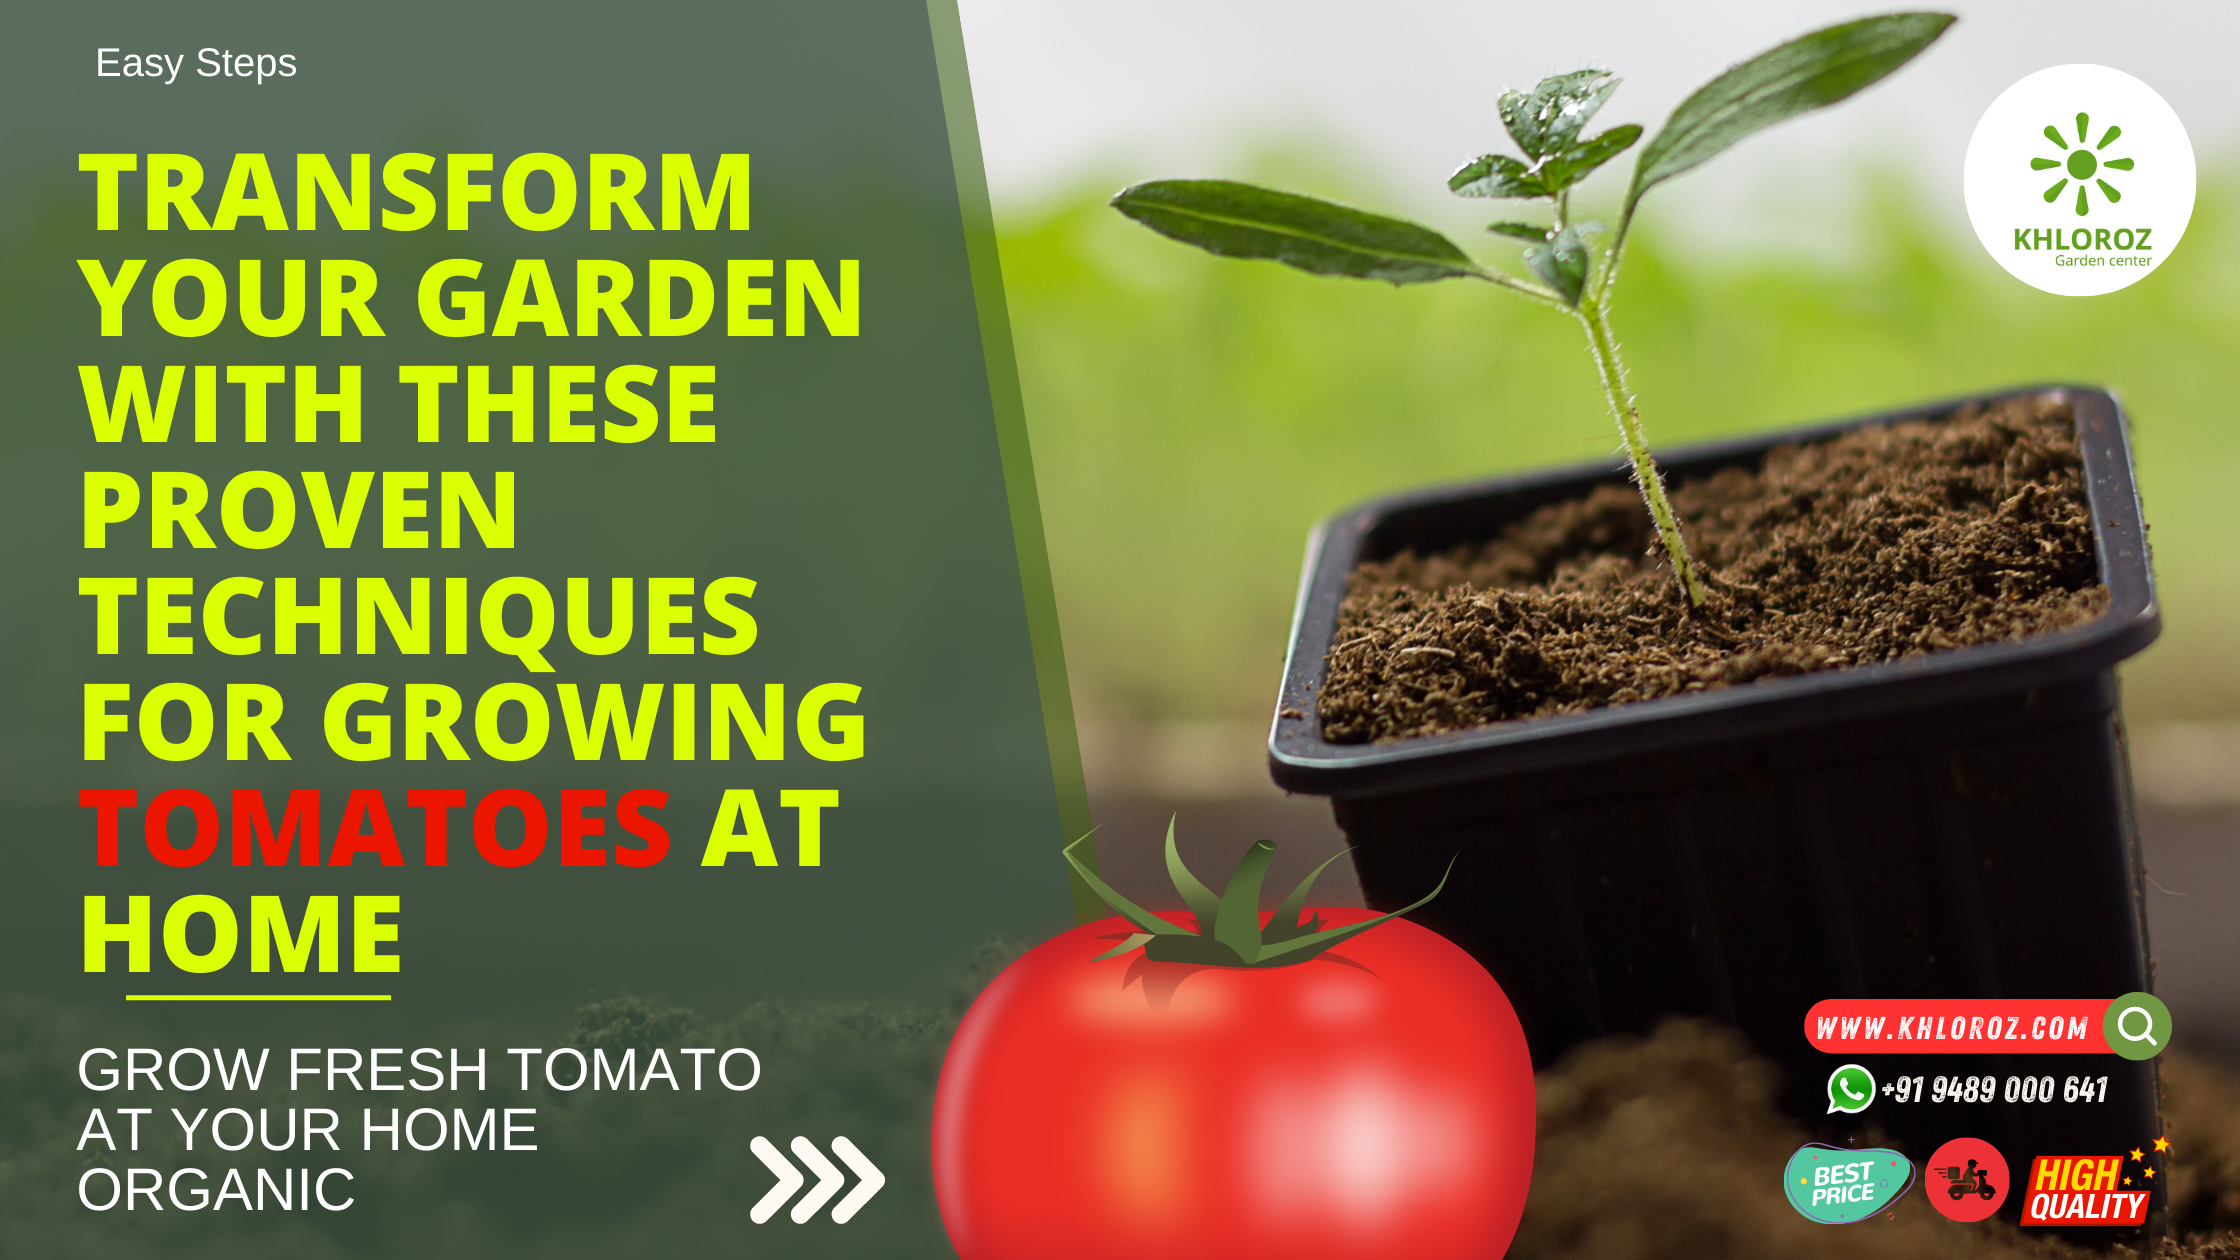
Transform Your Garden with These Proven Techniques for Growing Tomatoes at Home
Tomatoes can be grown upside down! By hanging the plant upside down in a container, the tomato vine can grow down and the tomatoes will grow upwards, making them easier to harvest and saving space in a small garden.
Tomatoes are a beloved staple in many households, and growing your own tomatoes can be a rewarding and satisfying experience. Not only do you get to enjoy fresh and delicious tomatoes, but you also get to witness the transformation of a tiny seedling into a bountiful plant. If you’re new to gardening, growing tomatoes is a great place to start. Here are some proven techniques to help you get the most out of your tomato plants.
- Choose the right tomato variety: There are many different types of tomatoes, and choosing the right one for your garden is key. Khloroz Garden center’s Tomato Seeds are best for your start. Having Good germination, Khloroz Tomato Seeds helps you to grow healthy seedlings. If you have limited space, try a determinate variety, which grows to a specific height and produces fruit all at once. If you have more space, indeterminate varieties are a good choice, as they will continue to grow and produce fruit throughout the season. Khloroz Garden Center has heirloom Tomato Seeds Variety also. 12×12 Growbag is sufficient to grow one tomato plant.
- Start with healthy seedlings: Whether you start your tomato plants from seed or seedlings, make sure they are healthy and disease-free. Look for plants with sturdy stems and deep green leaves. Avoid plants with yellow or brown leaves or signs of pests or disease.
- Plant tomatoes in the right location. Tomatoes need at least 6-8 hours of sunlight each day, so choose a sunny spot in your garden. They also need well-draining soil with plenty of organic matter. If you have heavy clay soil, amend it with compost or other organic matter to improve drainage.
- Provide support for your plants. Tomatoes are vining plants and need support to grow upright. You can use cages, stakes, or trellises to keep your plants off the ground and promote good air circulation.
- Water and fertilize regularly. Tomatoes need consistent moisture to thrive, so water them deeply once or twice a week, depending on weather conditions. Fertilize your plants with a balanced fertilizer every 2-3 weeks, or use compost or other organic matter to provide nutrients. Can use Khloroz’s Vermicompost at 2-3 weeks interval.
- Prune your plants. Removing the suckers, or small shoots that grow between the main stem and the branches, can help your plants produce larger, healthier fruit. It also improves air circulation and reduces the risk of disease.
- Harvest your tomatoes at the right time. Tomatoes are ripe when they are fully colored and slightly soft to the touch. Pick them as soon as they are ripe to avoid overripe fruit and to encourage the plant to continue producing.
By following these proven techniques for growing tomatoes at home, you can transform your garden into a bountiful oasis of fresh, delicious tomatoes. Happy gardening!
African Marigolds: Easy-to-Grow Flowers for Your Home Garden
The marigold, among mortals called the herb of the sun, is rightly so named, since it retains its golden color even when it is dried
– Pliny the Elder
If you’re looking for a simple yet striking addition to your home garden, look no further than Khloroz African marigolds. These beautiful, bright yellow or orange flowers are easy to grow and care for, making them a great choice for both beginner and experienced gardeners alike.
Grow Marigold in your garden
Easy Growing flower series
African marigolds, also known as Tagetes erecta, are native to Mexico and Central America but have been cultivated all over the world for their stunning flowers. They are a popular choice for home gardeners due to their hardiness, pest resistance, and the fact that they are relatively low maintenance. Khloroz African Marigold seeds are best for Beginners as the germination is good.
Here’s what you need to know to successfully grow African marigolds in your home garden:
Soil and Sunlight African marigolds grow best in well-drained soil with plenty of organic matter, so it’s a good idea to amend your soil with compost or other organic material before planting. They also prefer full sunlight, so make sure to choose a location that gets at least six hours of direct sunlight each day.
Planting: Khloroz African marigolds can be grown from seed or transplanted as young seedlings. If you’re starting from seed, sow them directly into the soil after the last frost in your area. If you’re transplanting seedlings, wait until they have at least two sets of true leaves before transplanting them into the ground.
Watering: While African marigolds can tolerate dry conditions, they do best with consistent watering. Water deeply once or twice a week, rather than shallowly every day, to encourage deep root growth.
Fertilizing: African marigolds are not heavy feeders and do not require much fertilizer. A light application of a balanced fertilizer every six to eight weeks should be sufficient.
Deadheading: To encourage continuous blooming, it’s a good idea to deadhead your African marigolds. This means removing spent flowers before they have a chance to go to seed. Simply pinch off the flower head and discard it.
Pest Control: African marigolds are relatively pest-resistant, but they can occasionally be affected by aphids, spider mites, and other common garden pests. If you notice any signs of infestation, treat your plants with a natural pesticide or insecticidal soap.
With just a little bit of care and attention, you can enjoy the vibrant beauty of African marigolds in your home garden all season long. Their cheerful blooms are sure to brighten up your space and bring a smile to your face every time you see them. So why not give them a try this year?
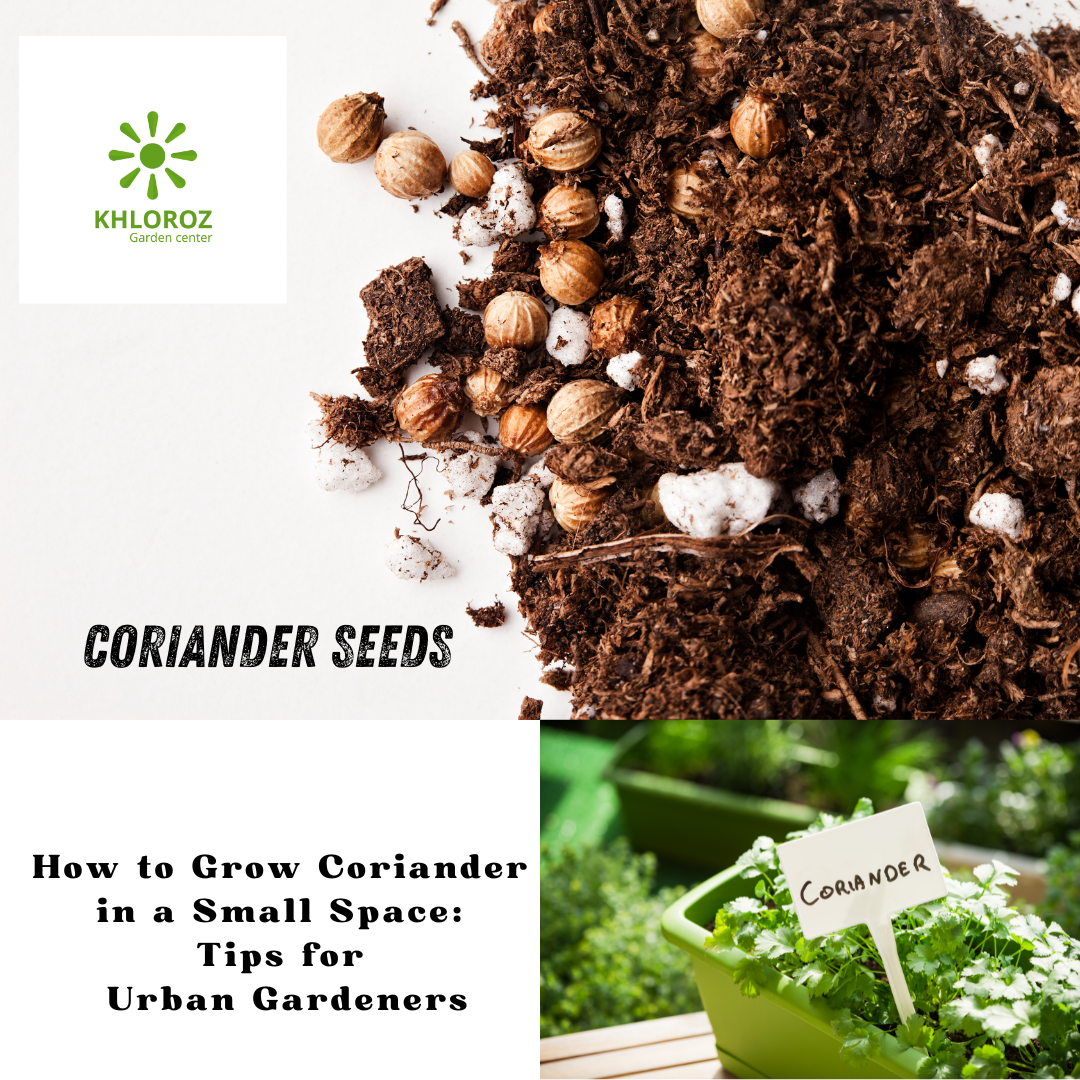
How to Grow Coriander in a Small Space: Tips for Urban Gardeners
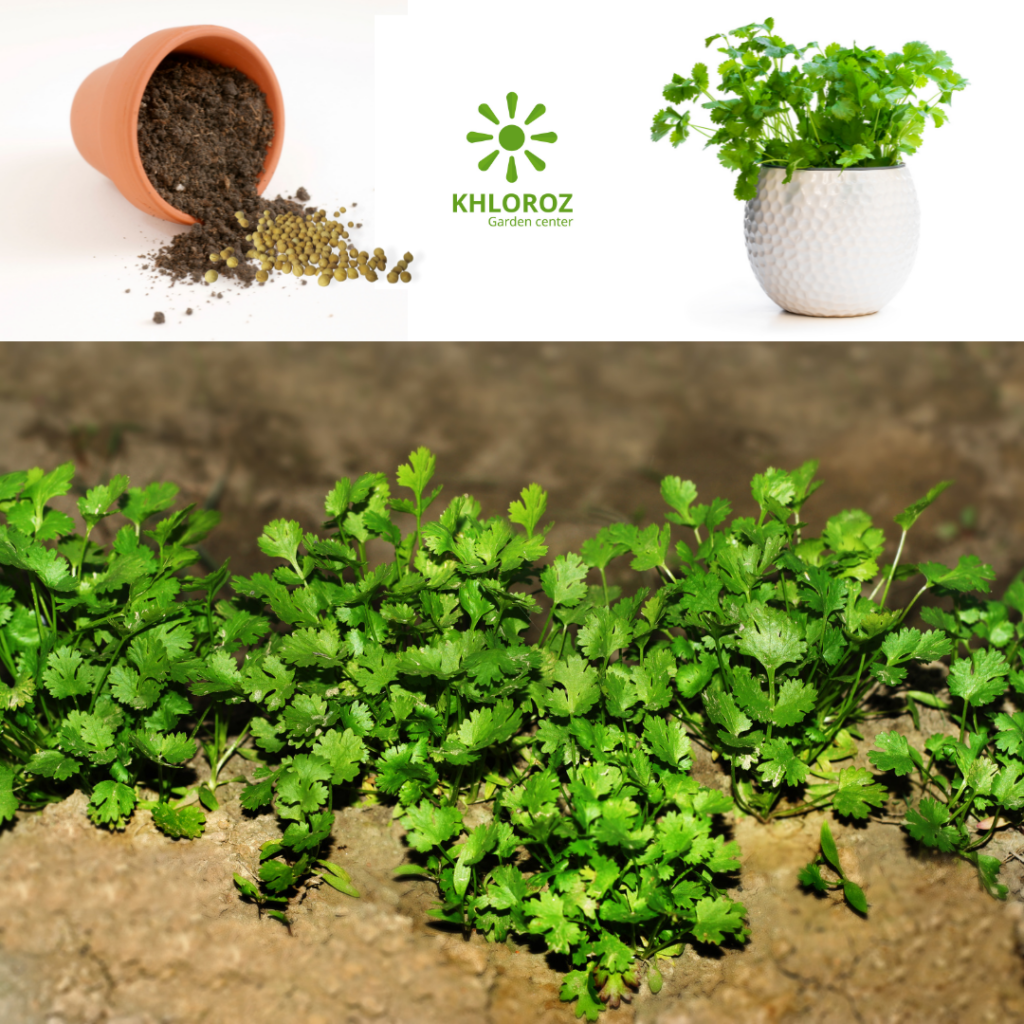
Are you short on space but still want to grow your own coriander at home? Look no further than grow bags! These compact and versatile containers are perfect for growing a wide range of plants, including coriander.
Here’s how to get started
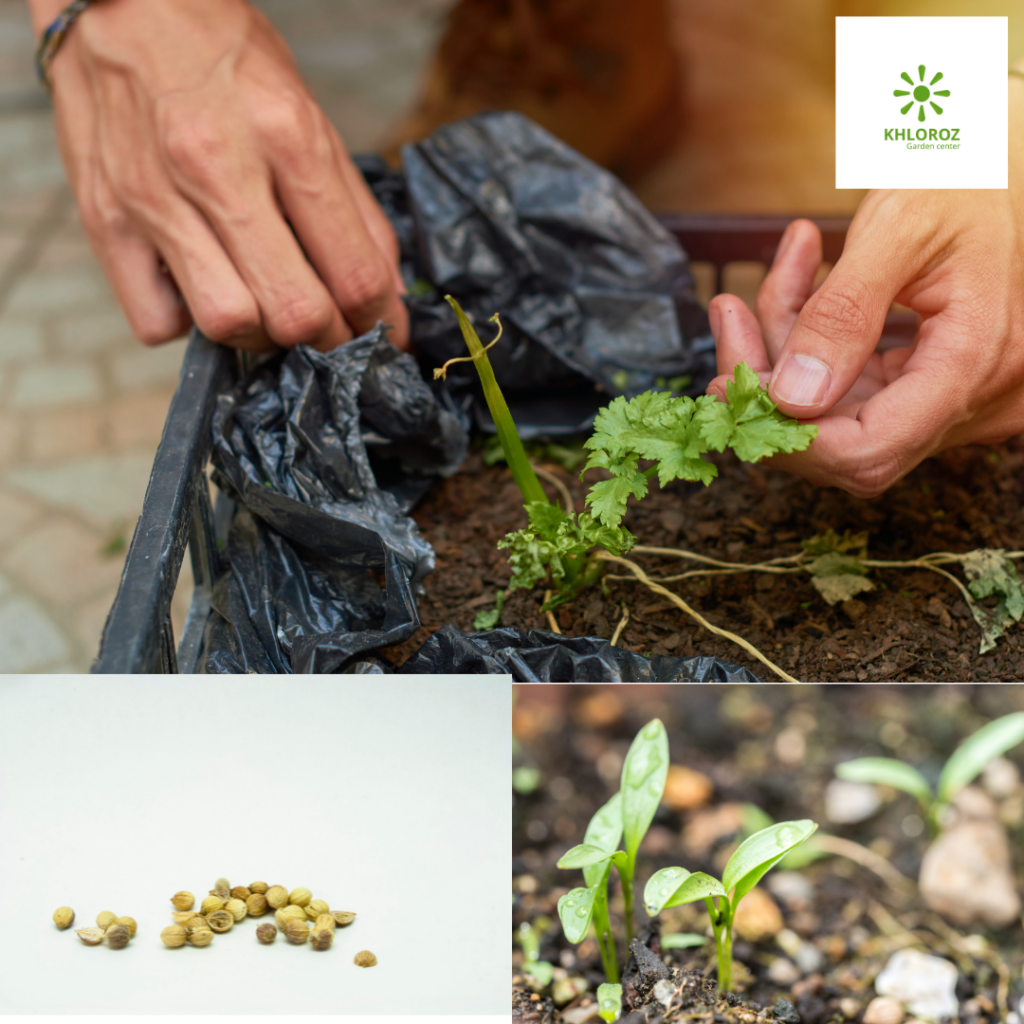
- Choose a high-quality grow bag. Look for a bag made from durable materials that will stand up to outdoor use. Make sure it has drainage holes to prevent water from pooling at the bottom.
- Prepare the soil for planting. Coriander prefers well-draining soil that is rich in organic matter. Fill your grow bag with a high-quality potting mix or make your own by mixing equal parts compost, vermiculite, and peat moss.
- Plant your coriander seeds. Plant your seeds about 1/4 to 1/2 inch deep and space them about 2 to 3 inches apart.
- Water your coriander regularly. Coriander prefers consistently moist soil, so make sure to water it regularly. However, be careful not to overwater, as this can lead to root rot.
- Fertilize your coriander regularly. Use a balanced fertilizer that is high in nitrogen to promote healthy growth.
- Place your grow bag in a sunny location. Coriander needs plenty of sunlight to thrive, so make sure to place your grow bag in a spot that gets at least six hours of direct sunlight per day.
- Harvest your coriander when it is ready. Coriander leaves can be harvested when they are about 4 to 6 inches long. You can also harvest the seeds, which are commonly used as a spice.
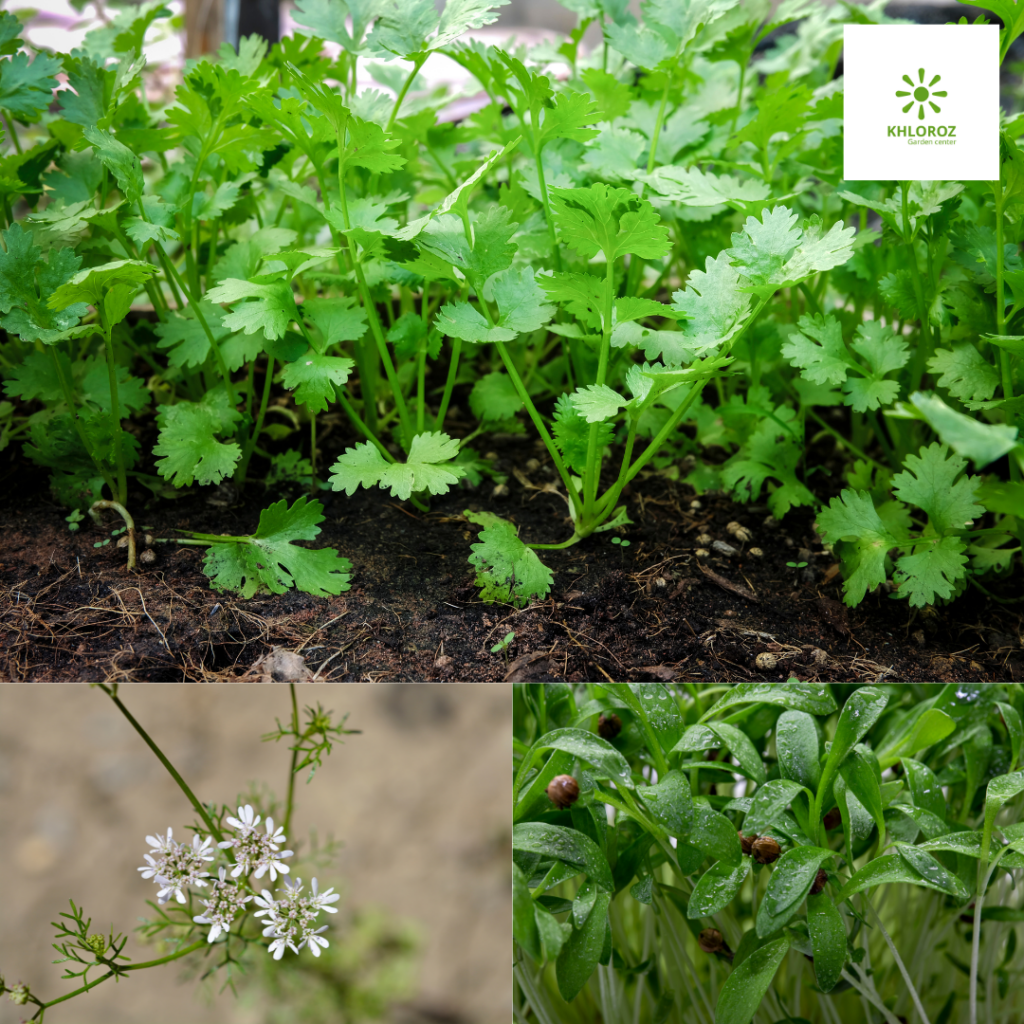
With these simple steps, you can enjoy fresh, flavorful coriander right from your own grow bag garden. And don’t forget to experiment with different recipes and cooking techniques to make the most of your home-grown coriander!
